

Sempatap Thermal Solid Wall Insulation Application Instructions
To apply yourself, follow the easy, step-by-step instruction below. Or for more information download our instructions, request a free Sempatap Thermal Application DVD by calling 01372 743 334, or visit our YouTube channel where you’ll find videos on a range of our products.
Remove

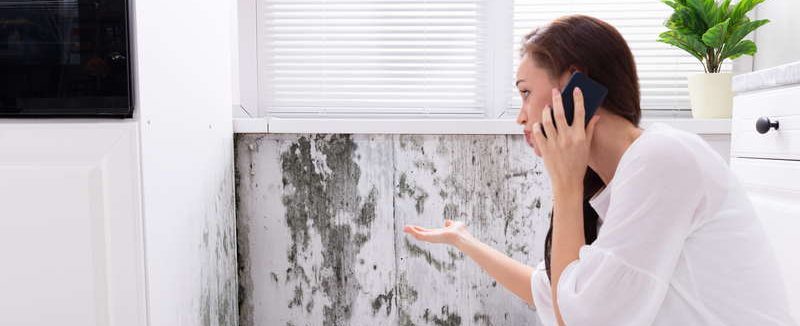
Remove any wallpaper and prepare the walls and ceilings as though you were going to decorate. Sempatap Thermal is normally only applied to the inside of the external wall. If the plaster on your wall is very old and porous, apply a cost of Sempatap ‘a’ primer and allow to dry. Measure and cut your drop lengths remembering to allow an excess of 25mm each end for trimming.
Apply

Apply a liberal coat of Sempatap Adhesive to the wall using a notched Sempatap Adhesive Spreader, notched trowel or long pile roller. Only apply the adhesive to one drop length area at a time. For subsequent lengths apply the Sempatap Adhesive not only to the wall but also to the edge of the previously hung length of Sempatap Thermal.
Hang

Sempatap Thermal to wet adhesive on the top of the wall at the junction with the ceiling then roll out and smooth with light level hand pressure. Sempatap Thermal can be returned a short distance along adjoining walls to prevent any thermal bridging.
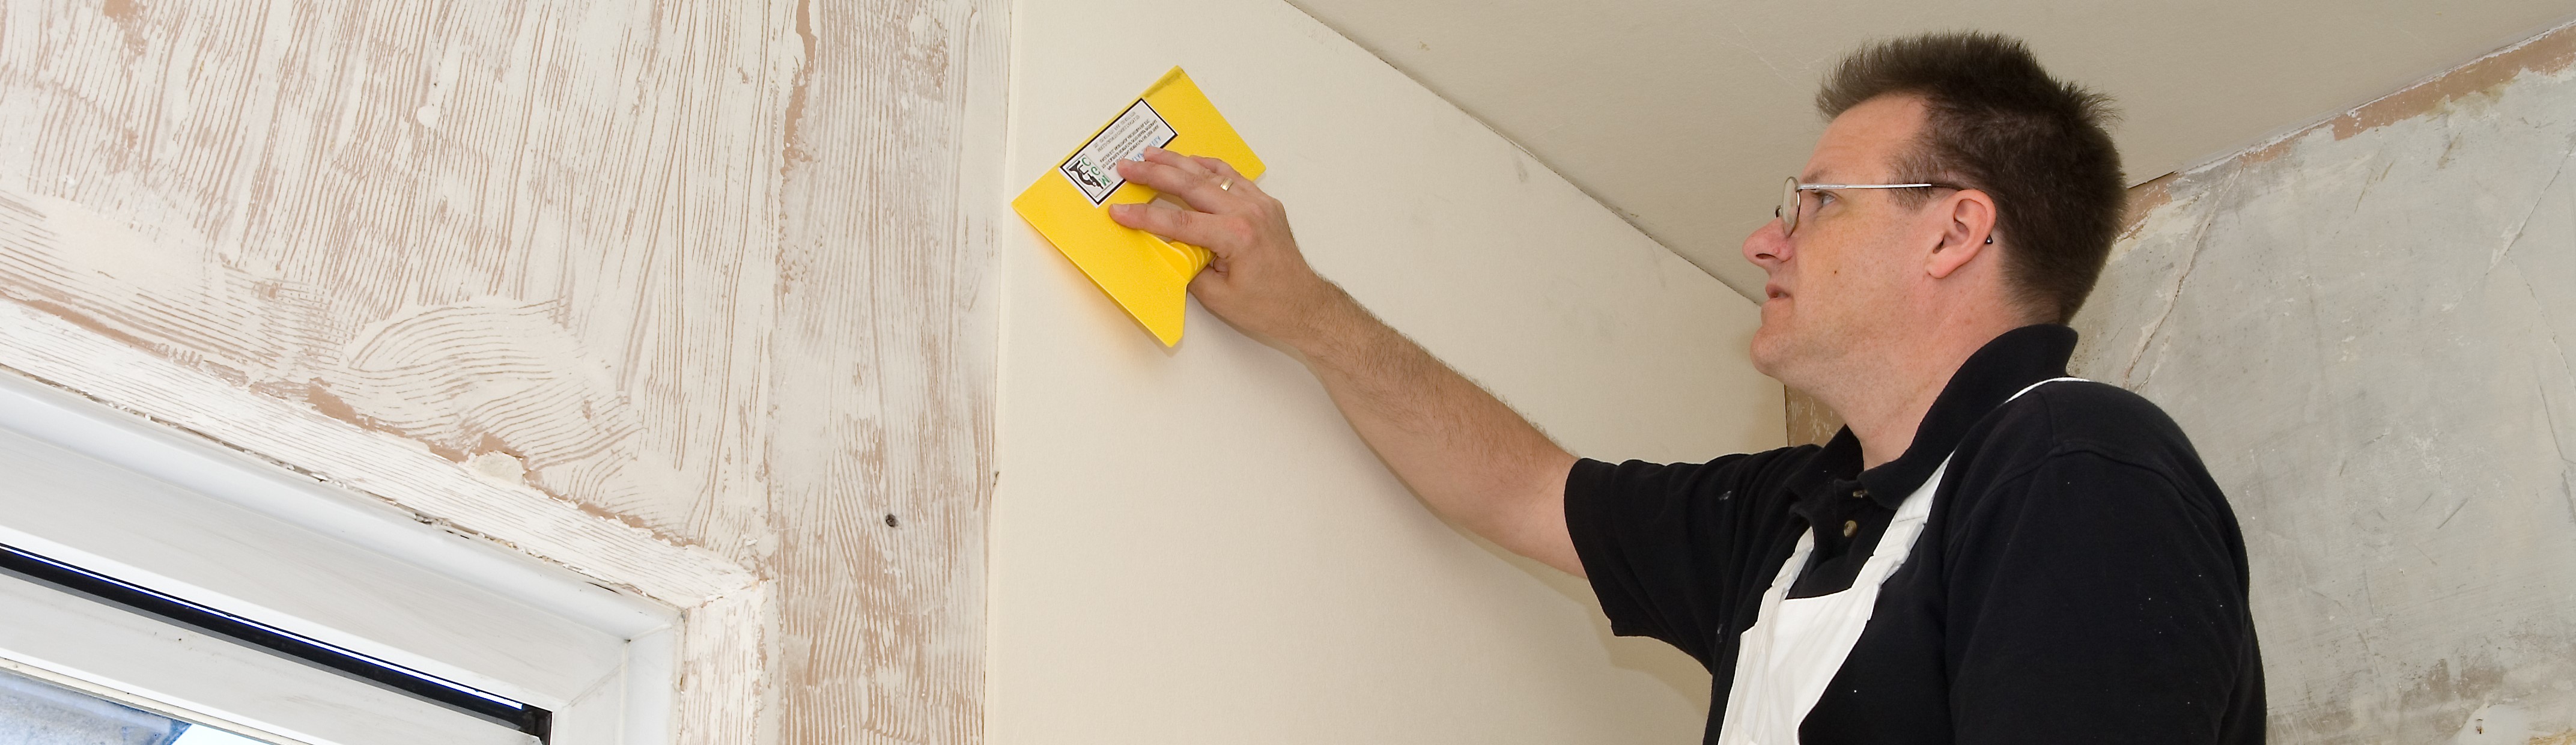
Using

Using scissors, a Stanley knife or similar and the Sempatap Spatula as a straight edge, cut off any excess at ceiling level and at the junction with the skirting. Plugs and switches – star cut Sempatap Thermal and use longer screws to refit.
Application

Application to flat ceilings, dormers and mansard roofs, apply the Sempatap Adhesive to the ceiling surface, leave for a few minutes to go tacky then apply Sempatap Thermal as per instructions.
Decorate

Sempatap Thermal can be decorated with virtually any finish – wallpaper, emulsion, even tiles. For a perfect finish when using emulsion, cross line with thermal lining paper to totally hide the joints.
